About Boondock Technologies
Builds Actionable Intelligence tools for Radio Communication ,a platforms that simplify complex systems — enabling teams to operate faster, smarter, and with more clarity. Our products are designed to integrate beautifully and work powerfully across domains.
Explore Our Products
Discover the tools that will transform your workflow
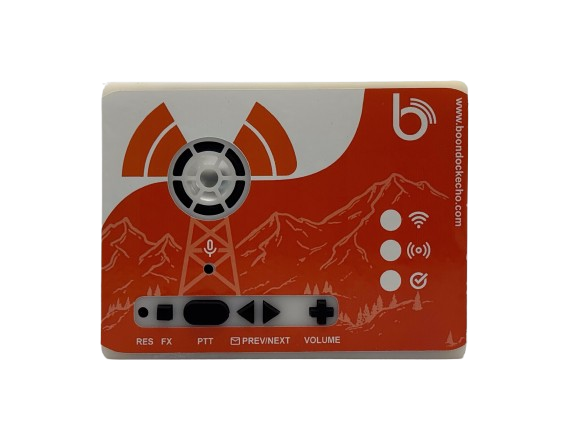
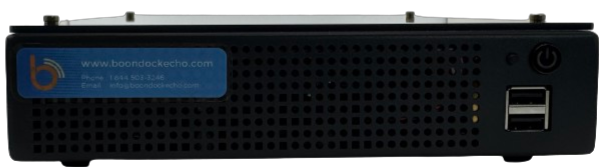
Boondock Echo
A reliable all-in-one audio intelligence device for emergency and field communication. Perfect for real-time recording, transcription, and audio routing
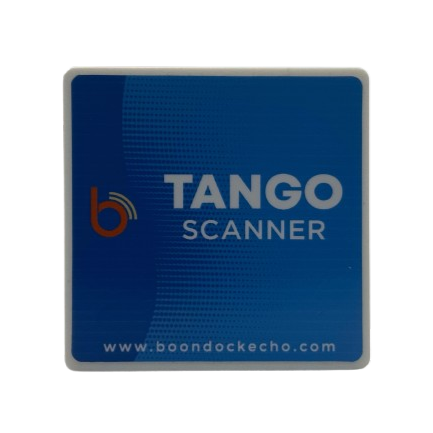
Boondock Tango
A compact Internet-connected audio recording device for radio scanners. Easily capture audio, view recordings, and more via Boondock Echo website.

Boondock Wilco Controller
An Internet connected device that lets you control your scanner from anywhere in the world. Designed to manage and coordinate multiple Tango Scanners.
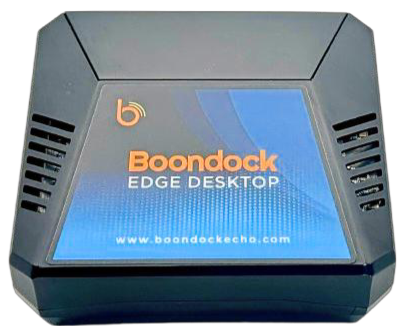
Boondock Edge Desktop
Maintain your data privacy with our Desktop-Grade hub for local setup. Ideal for base stations or dispatch centers
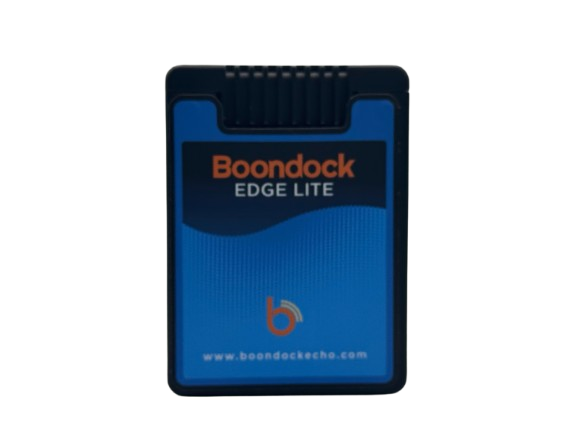
Boondock Edge Lite
Lightweight, portable version of Edge Desktop for flexible, mobile teams that need smart audio tools on the go.
Boondock Enterprise
Enterprise-grade command center for large-scale communication intelligence across departments or sectors.
Documentation Overview
Our comprehensive documentation is organized into focused sections to help you find exactly what you need.
Products
Detailed guides for each product including use cases, configuration options, and best practices.
Dashboard
Complete walkthrough of dashboard features and how to leverage them for maximum efficiency.